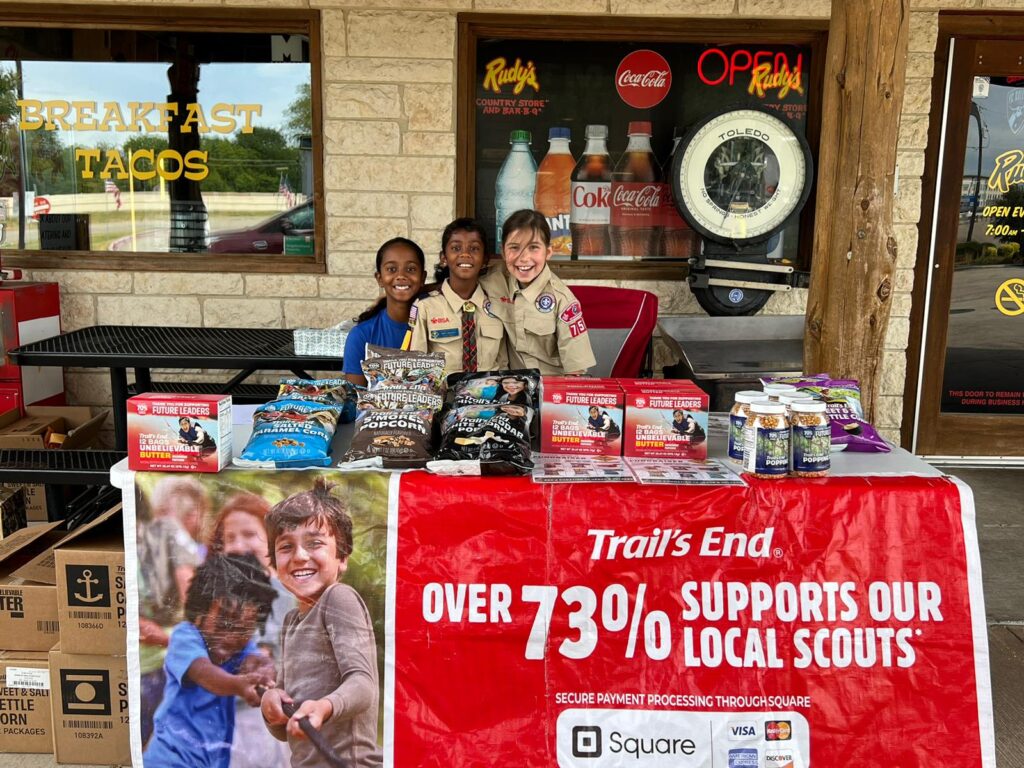
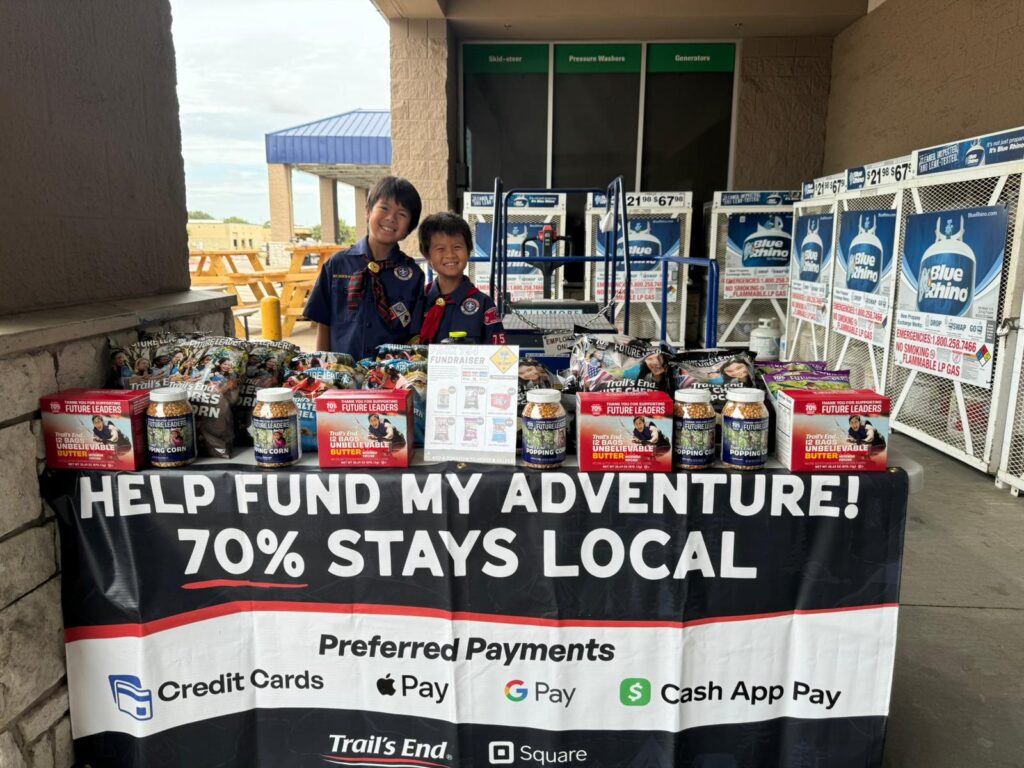
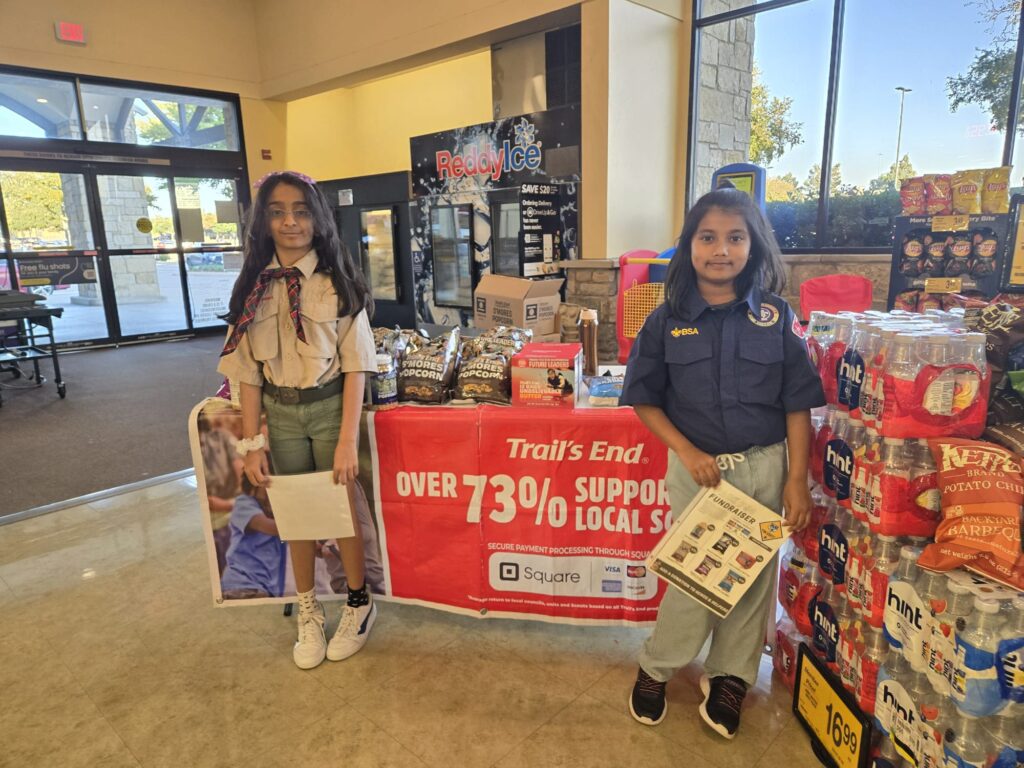
Each year our Pack sells popcorn in the community to fundraise and teach our scouts to “pay their own way”. This also teaches our scouts the following skills:
- Goal setting
- The power of persuasion
- How to handle rejection gracefully
- Perseverance
- Math skills
Jump to:
- Parent Guide
- Customer Interaction Guide
- How to Add Additional Scouts
- Storefront Sign-Up
- How to Record a Sale
Rewards
Key incentives that scouts will get in addition to 33% of sale proceeds will come to our pack.
Pack Dues Waiver :
- When a scout sells $500 or more in popcorn, their Pack dues for 2025 will be completely waived.
- Families with two scouts in the Pack can waive dues for both by selling $750 or more in total.
BSA National Dues Refund:
- Scouts who sell $1,000 or more will receive a full refund of their BSA National dues.
Free Camping for the Year :
- Scouts who reach $1,500 or more in sales will have all camping fees waived for the entire year.
- This benefit also covers the scout’s parents
- Please note: this waiver does not include siblings.
In addition, scouts will also receive gift cards based on the amount of Popcorn they sell.

Parent Guide
Customer Interaction Guide
🎯 Goal
To help Scouts learn how to respectfully approach, talk to, and thank customers while sharing their cause and representing Pack 754 with pride!
👔 Wear Your Class A Uniform
Your uniform shows that you’re proud to be a Scout — and helps people trust and support you.
- Always wear your full Class A uniform when talking to customers.
- Make sure:
- Shirt is tucked in
- Neckerchief is neat and secure
- Badges are straight and visible
- Shoes are clean
👀 Body Language
First Impressions Matter
- Stand tall and confident
- Smile warmly 😊
- Keep hands out of pockets
- Make friendly eye contact (but don’t stare)
- Give people space — stand at a comfortable distance (about an arm’s length) so they don’t feel crowded
👋 Polite Greeting
Start with a smile and a clear voice:
“Hello Sir/Madam, Good morning/evening, and I’m a Cub Scout with Pack 754.”
📌Tip: Speak clearly and confidently — practice at home!
🤝 Teamwork & Taking Turns
- Don’t interrupt another Scout who’s talking to a customer.
- Take turns fairly (by time or by customer).
- Encourage your buddy with a “Great job!” afterward.
Working as a team makes the whole Pack look great.
🎯 Tell Them the Goal (WHY)
Example: “We’re raising money to help pay for camping trips, hiking, and other Scout activities.”
📌Tip: Be enthusiastic — people love supporting Scouts with a purpose!
🍿 Talk About the Product (WHAT)
Example: “We have lots of popcorn flavors between $20 and $25. Would you like to see what we have?”
If yes:
- Show them the order form or ask your adult helper for support.
- Smile and thank them warmly.
📌Tip: Know your products — practice at home with a family member or friend.
💙 Talk About Donations
If someone says no or thinks it’s too expensive, you can offer another way to help:
- “That’s okay! You can also make a small donation to support military families. Every bit helps!”
- “No problem! You can donate any amount to send popcorn to the military.”
📌Tip: Always stay friendly and respectful no matter what they choose.
🙏 Say Thank You & Goodbye
Always close with a smile:
- “Thank you so much for your support!”
- “Have a great day!”
If they decline: “Thank you for your time — have a great day!”
🎭 Practice Makes Perfect
Do role-plays with your Den or Pack:
- One Scout is the “customer”
- One Scout practices greeting and pitching
- Others watch and share compliments and tips
🚫 DON’Ts
- ❌Don’t interrupt another Scout
- ❌Don’t argue or complain if someone says “no”
- ❌Don’t eat, drink, or chew gum while selling
- ❌Don’t play, run, or roughhouse near the booth
- ❌Don’t pressure or guilt customers
- ❌Don’t leave your spot without telling an adult
- ❌Don’t touch customers or their belongings
- ❌Don’t forget manners — always say “please” and “thank you”
✅ Always DO
- 👍Be polite, cheerful, and respectful
- 👂Listen carefully and wait your turn
- 🧍Stand tall and wear your full Class A uniform
- 🧠Know your message and practice ahead of time
- 🙋Ask kindly for donations if the product isn’t a fit
- 👋Thank everyone — even if they don’t buy
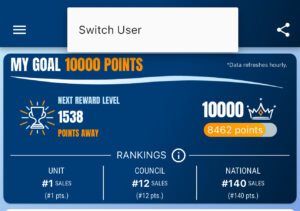
How to Add Additional Scouts
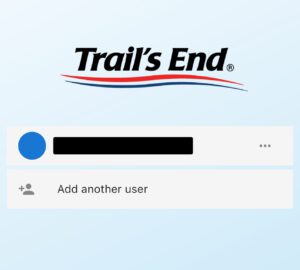
Step 1: User Switch
On the homepage, click on your username, then choose the option “Switch User.”
Step 2: Add Another User
Select the “Add another user” button.
Step 3: Register with Email
Enter the email address and click on “Register.”

Step 4: Provide Scout Details
Fill in the scout’s information and click “Continue.”

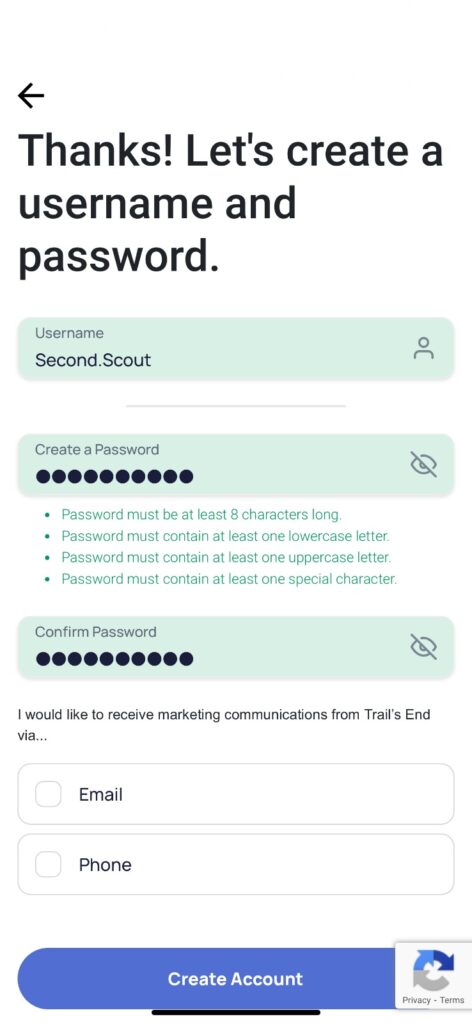
Step 5: Create a New Account
Input a username and password, then click “Create Account.”
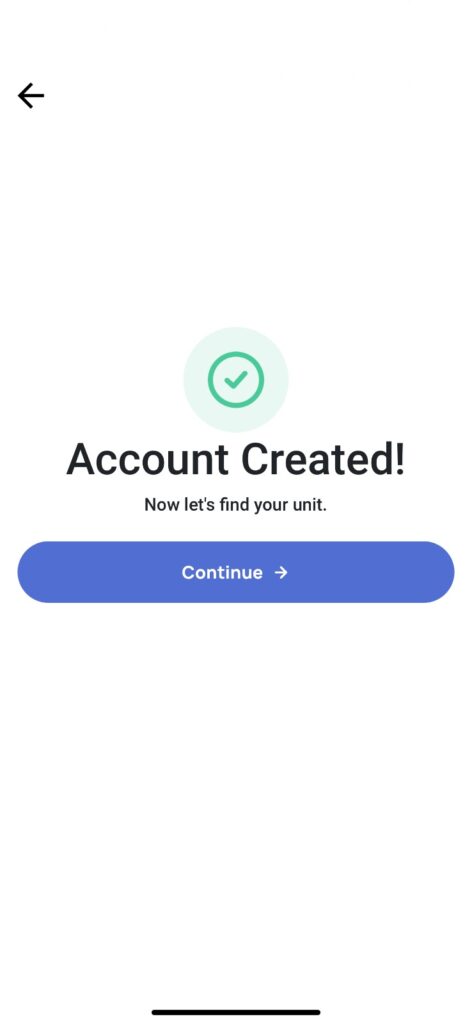
Step 6: Confirmation
A message will confirm “Account created.” Click “Continue.”
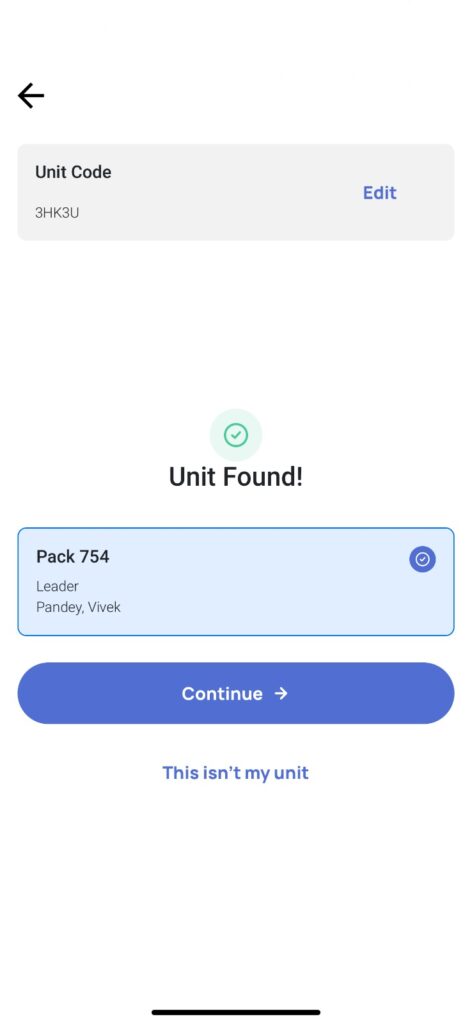
Step 7: Enter Unit Code
Input the Unit code ‘3HK3U’ and click “Continue.”
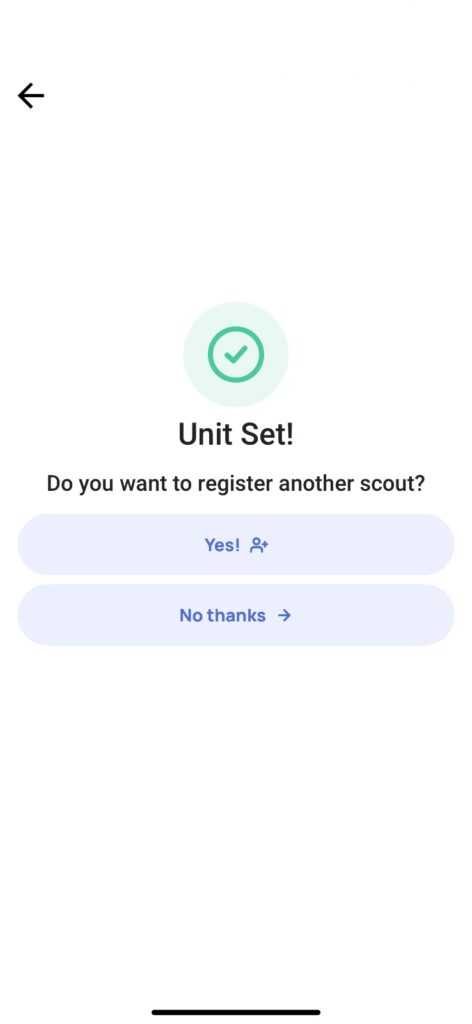
Step 8: Add Another Scout (Optional)
If you’d like to add another scout, select “Yes.” If not, click “No thanks.”
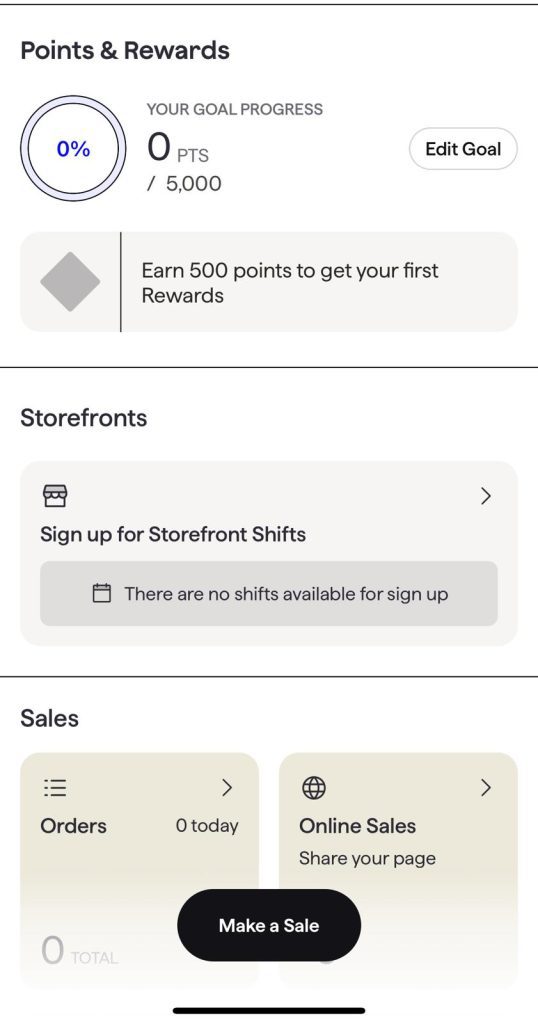
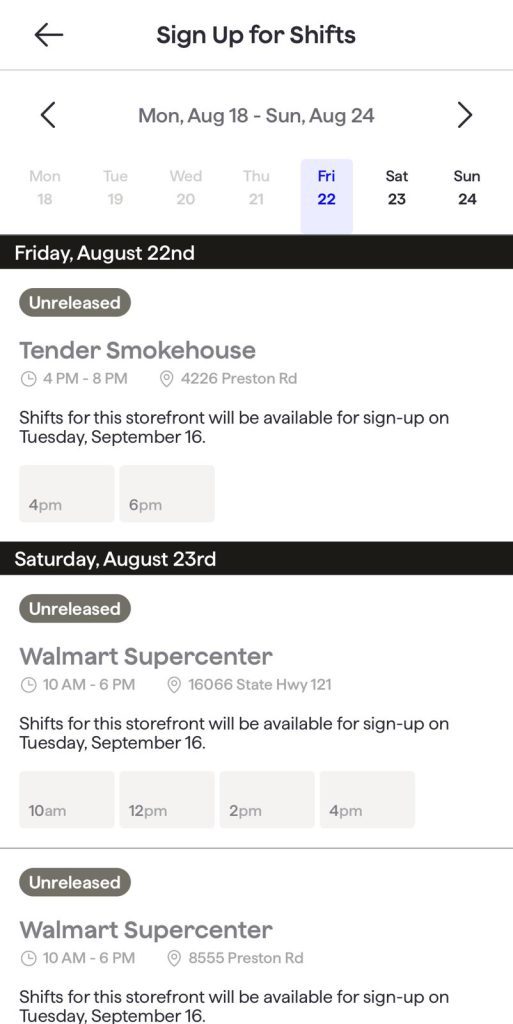
Storefront Sign-Up
Step 1 : Login to your “Trail’s End” app and click on “Sign up for Storefront Shifts”
Step 2 : Select the Date and Time from the list of options. Tap signup
How to Record a Sale
Step 1: Locate the Adapter
Find the appropriate adapter for your phone (iPhone/Android) in the cashbox.

Step 2: Connect the Adapter
Plug the adapter into your phone and allow any permissions when prompted.

Step 3: Open the App
Launch the ‘Trail’s End’ app, select your storefront, and tap ‘Sell’. ‘Sell’ will be enabled on the day of Sale only.

Step 4: Start the Sale
Click on ‘Start Sale’ to initiate the transaction.

Step 5: Add Products or Donations
Add the product being sold or, if it’s a donation, select the donation option and input the donation amount.


Step 6: Payment Method
Click ‘Review & Checkout’ and ask the customer how they would like to pay—Credit/Debit, Cash, Apple Pay, or Google Pay.
Step 6.1: Card Payment
If paying by credit or debit card, select ‘Card’, then swipe the card using the provided adapter.
Step 6.2: Apple/Google Pay
For Apple/Google Pay, select the appropriate option and ask the customer to scan the QR code using their camera to proceed for payment.
Step 6.3: Cash Payment
If paying by cash, choose the ‘Cash’ option.

Step 7: Offer a Receipt
Ask if the customer would like a receipt. If yes, request their phone number or email address to send it digitally. If no, then click ‘Done. No receipt needed’.

Tap to Pay Guide for iPhone and Android Devices
Handling Exceptions:
- Order Cancellation
In case the customer wants to cancel, access the order by clicking on ‘ORDER’ to view the order list and select the order. Click ‘Refund Order’ option.